Screen recordings
For Dynatrace employees only
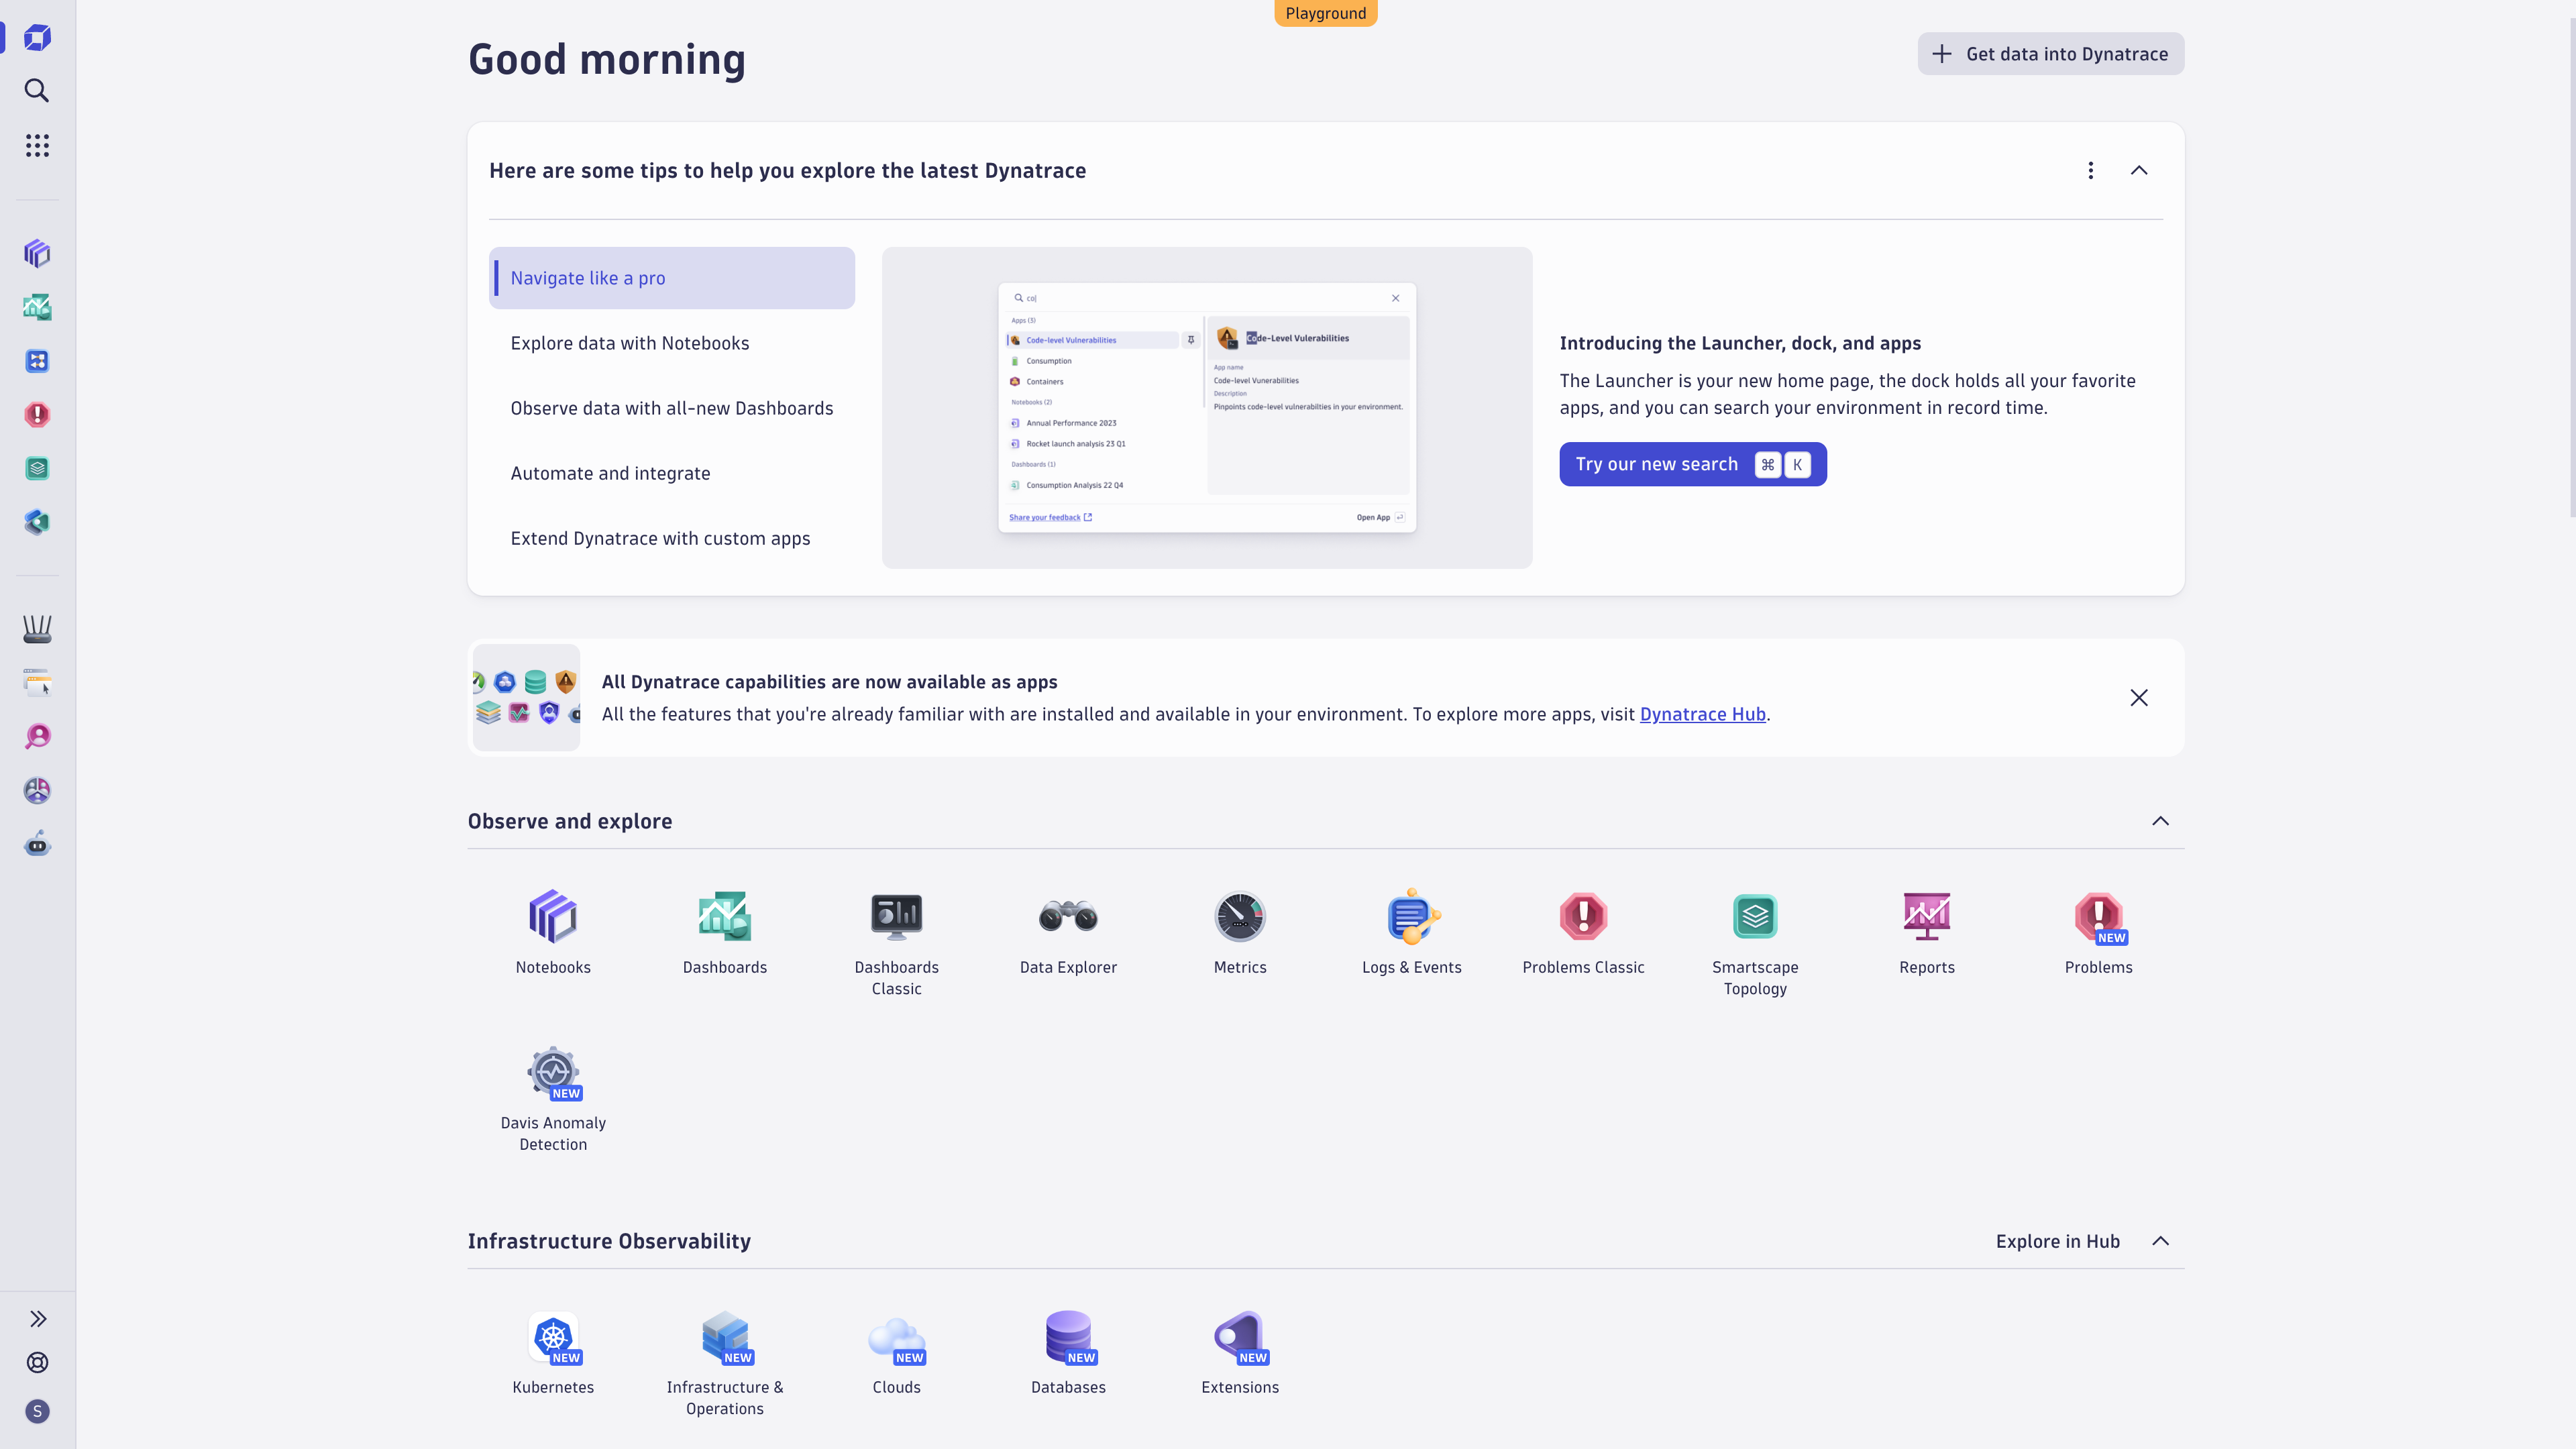
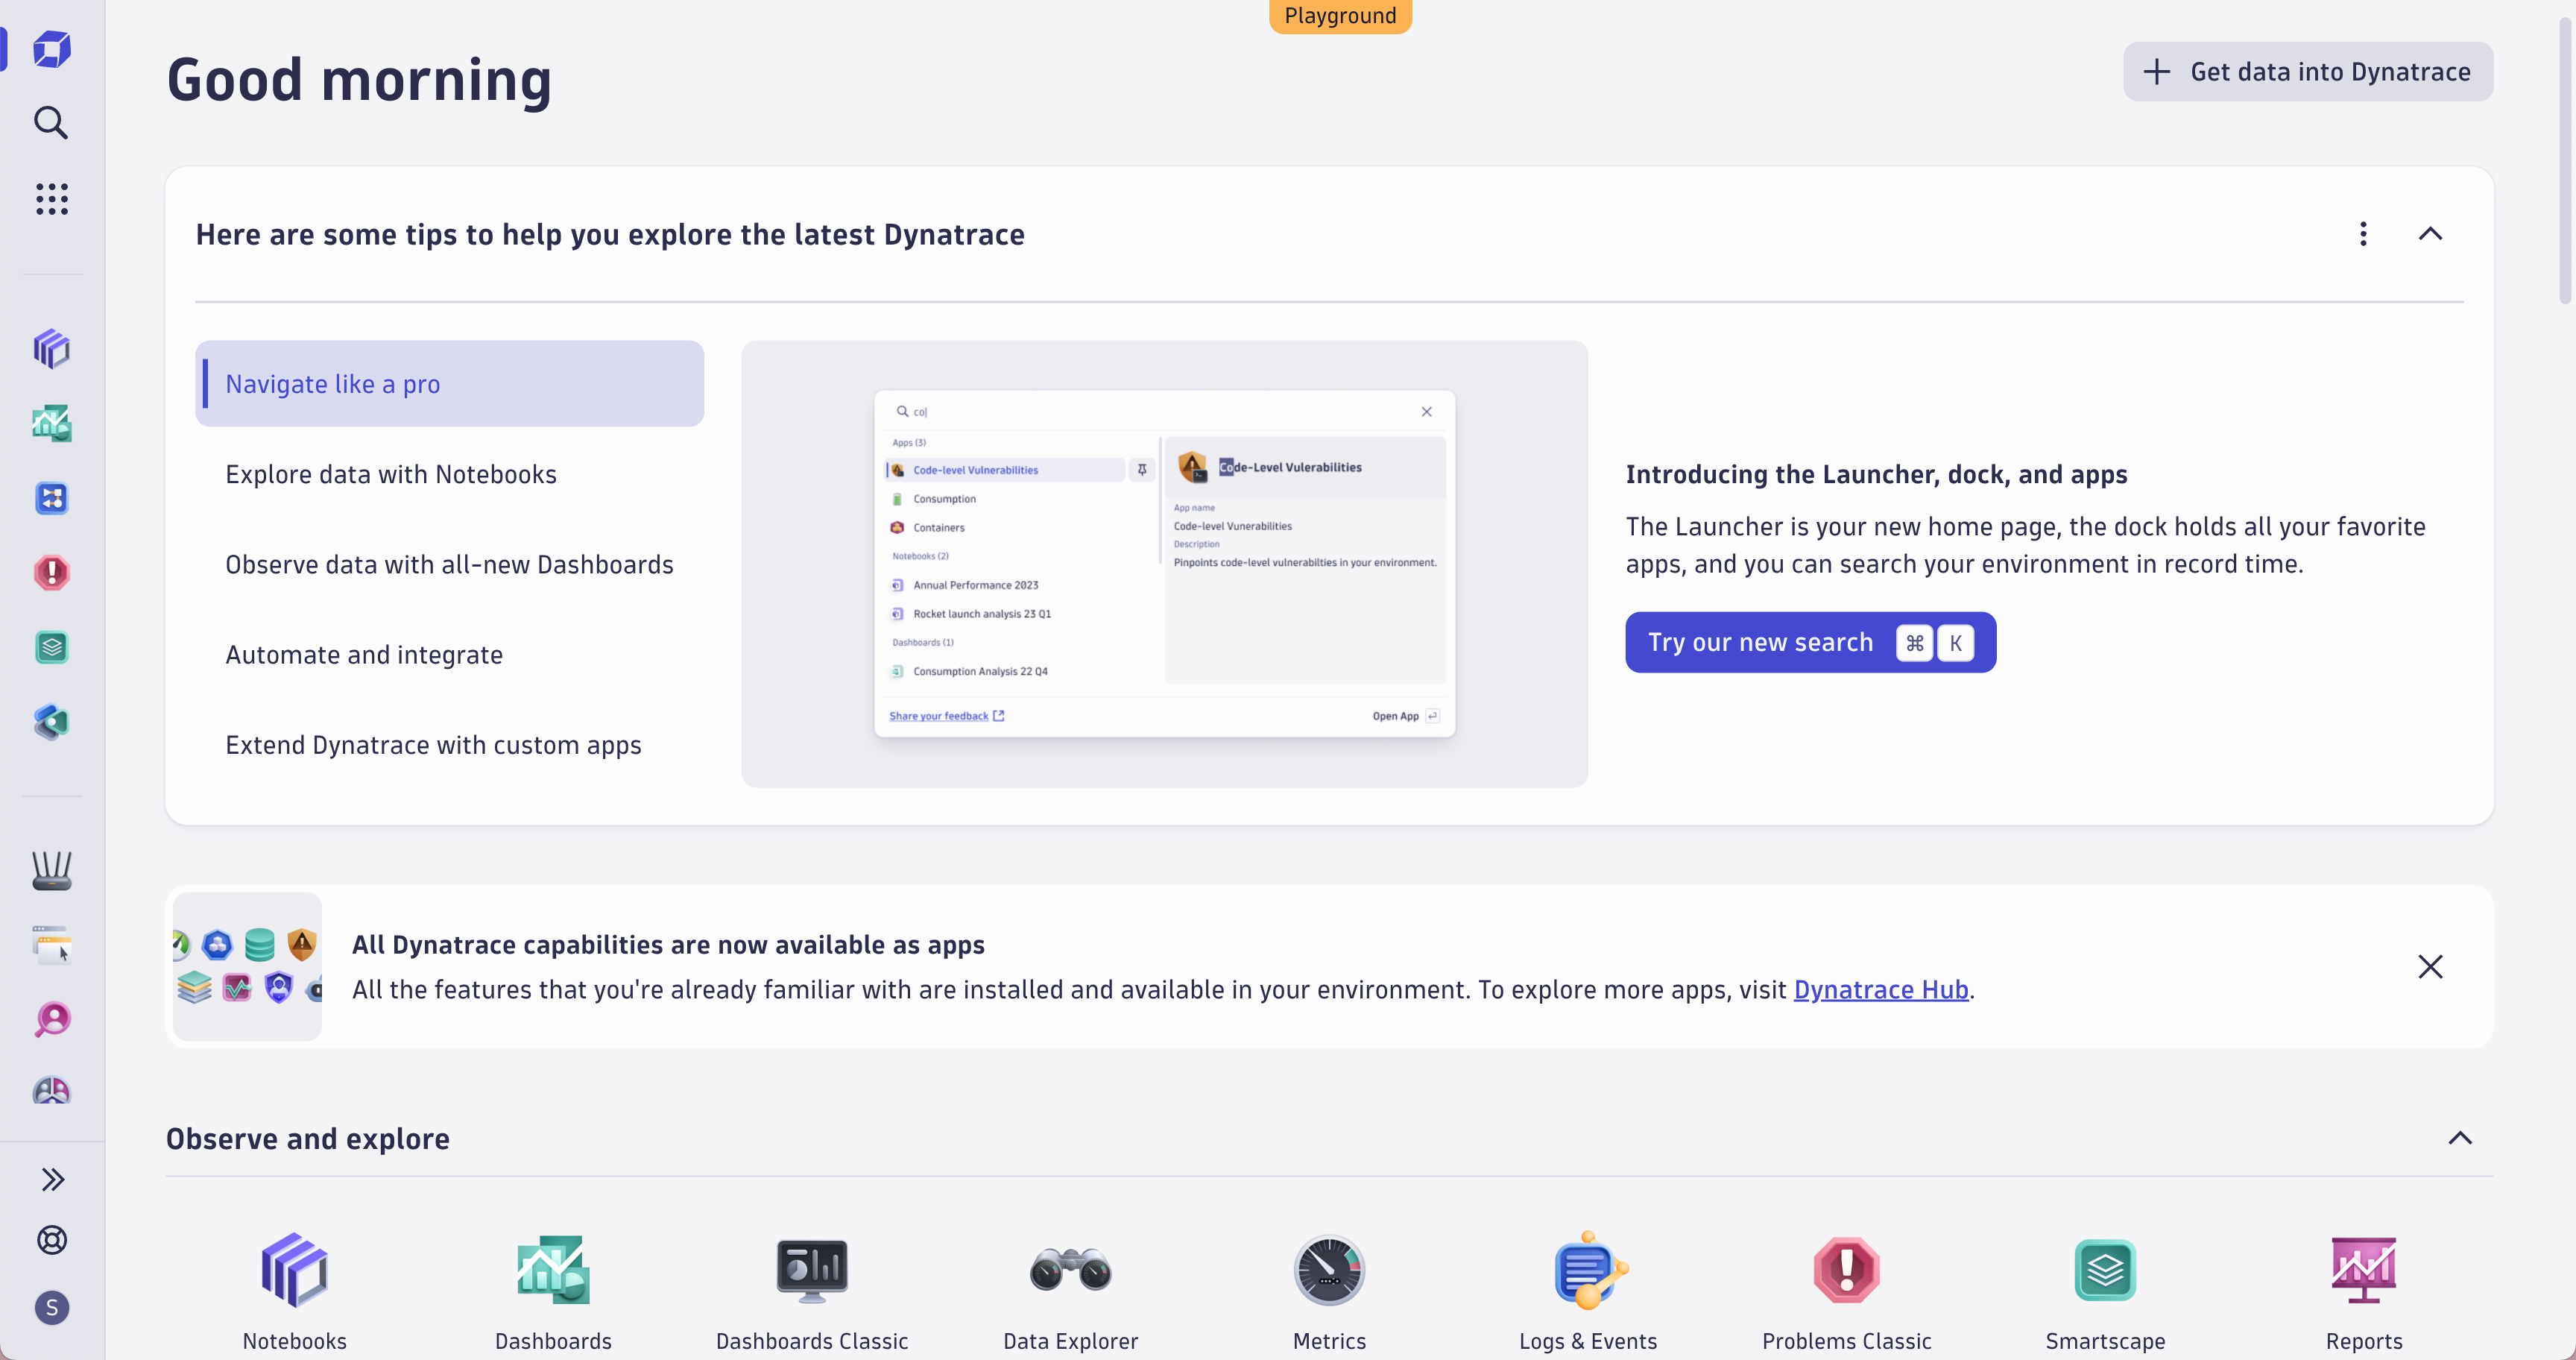
A screen recording is a video capture of the Dynatrace web UI or related content displayed on a computer monitor. Recordings include all visible working areas of the product, including the Dock.
Color and modes
Best practice is to capture a screen recording in light and dark mode for preservation.
Dark mode is mandatory when capturing screen recordings for presentations, especially for display on large monitors at global events. Light mode can only be used if the presentation style requires it and all other recordings are captured in light mode.
Shorter video recordings for screenshorts, hero videos, and others, can be either light or dark mode. Consistency is key. Regardless of the mode, ensure the surrounding assets are in the same mode. For example, on a web page, all video and screenshots are a consistent mode.
Monitor size restrictions
The output of screen recordings is directly related to the monitor size used for their display. To achieve the correct resolution, use any high-resolution external monitor, for example, at any Dynatrace office or Lab. No low-resolution recordings will be accepted.
Apple MacBook Pro with Retina screens provide sufficient resolution for 4K screen recordings and can be used to perform these tasks. By default, the MacBook Pro with Retina is near 4K (3456 x 2234 pixels; rendered at 2x (1728 x 1711)).
Browser
It's suggested to use Chrome as your browser when recording.
Recording best practices
Don't include any workstation or browser toolbar, taskbar, or other in the screen recording. Only include the inner part of the browser window.
Plan your cursor movements before recording. Ensure that cursor movements are clean, slow, and smooth. Always think about the user journey and where you want to guide the viewer's eye.
Don't use cursor movements to highlight areas or controls in the product web UI. Highlights, zooms in/out, and callouts should be added in post production and included in your screen recording notes.
You don't need to record sound because a voice-over will be added later, based on the provided voice-over script.
Screen recording specifications
| Use case | Website, Hub, in product | Global event |
|---|---|---|
| Output resolution | At minimum 1920 x 1080 (HD) | At minimum 3840 x 2160 (4K) |
Capture a screen recording
Best practice is to use Camtasia when annotating screenshots. Camtasia is available through the Employee Enablement portal.
For instructions on using Camtasia, consult TechSmith Tutorials.
Screen recordings for global events
Screen recordings for global events must be captured at 4K resolution or higher. The recommended software to use for 4K global event screen recordings is OBS (Open Broadcaster Studio), an open-source recording tool that you can download from the OBS website.
Follow the steps below to ensure that a high-resolution recording is created, regardless of your hardware setup.
Configure OBS
- Open Settings.
- Select Video from the side menu.
- For both the Base (Canvas) Resolution and Output (Scaled) Resolution, manually enter the resolution 3840x2160 into the field (the aspect ratio defaults to 16:9).
- Select Apply.
- Select Output from the side menu.
- Scroll to Recording.
- Optional: Update the Recording Path if you want completed recordings to save to a specific folder or location.
- Change the Recording Quality to Indistinguishable Quality, Large File Size.
- Change the Recording Format to mp4.
- Select Apply > OK.
Record
Ideally, use two monitors when capturing a screen recording; display the screen you want to capture on a monitor that provides 4K resolution and display OBS on a second monitor.
- In the Sources section, select + > Display Capture (on Mac: macOS Screen Capture).
- In the Properties window:
- Verify that the Display selected is the 4K resolution screen showing the area you want to capture.
- Select Capture Cursor.
- Select OK.
- In OBS, select the preview frame. The frame then shows a red highlight box.
- Move and adjust the visible area of the preview to only show the portion of the screen you want to record.
- You can also adjust the browser window size to provide a better view.
- Only the Dynatrace web UI should be in view.
- Fill the entirety of the OBS preview frame so no black background remains.
- Select Start Recording.
- When done, select Stop Recording.
The recording saves to the folder that you assigned in step 5 of Configure OBS above.
Screenshort details
A screenshort is a 15-second video highlighting a specific user interaction or Dynatrace use case. Screenshorts can be created in collaboration with the Web and Marketing teams.
Use the screen recording guidelines and best practices above to create a high-resolution video capture of the Dynatrace web UI. Fill in a copy of the screenshort PowerPoint template with details and information about the screenshort. Send both the template and your recording to the Web team for production.
When recording your screenshort, use the browser’s zoom function to reduce unnecessary white (negative) space and ensure the details fill the screen. The responsive Strato UI will automatically adjust the interface to the set zoom ratio. In general, 125% zoom provides the best visual balance of negative space and full details.

